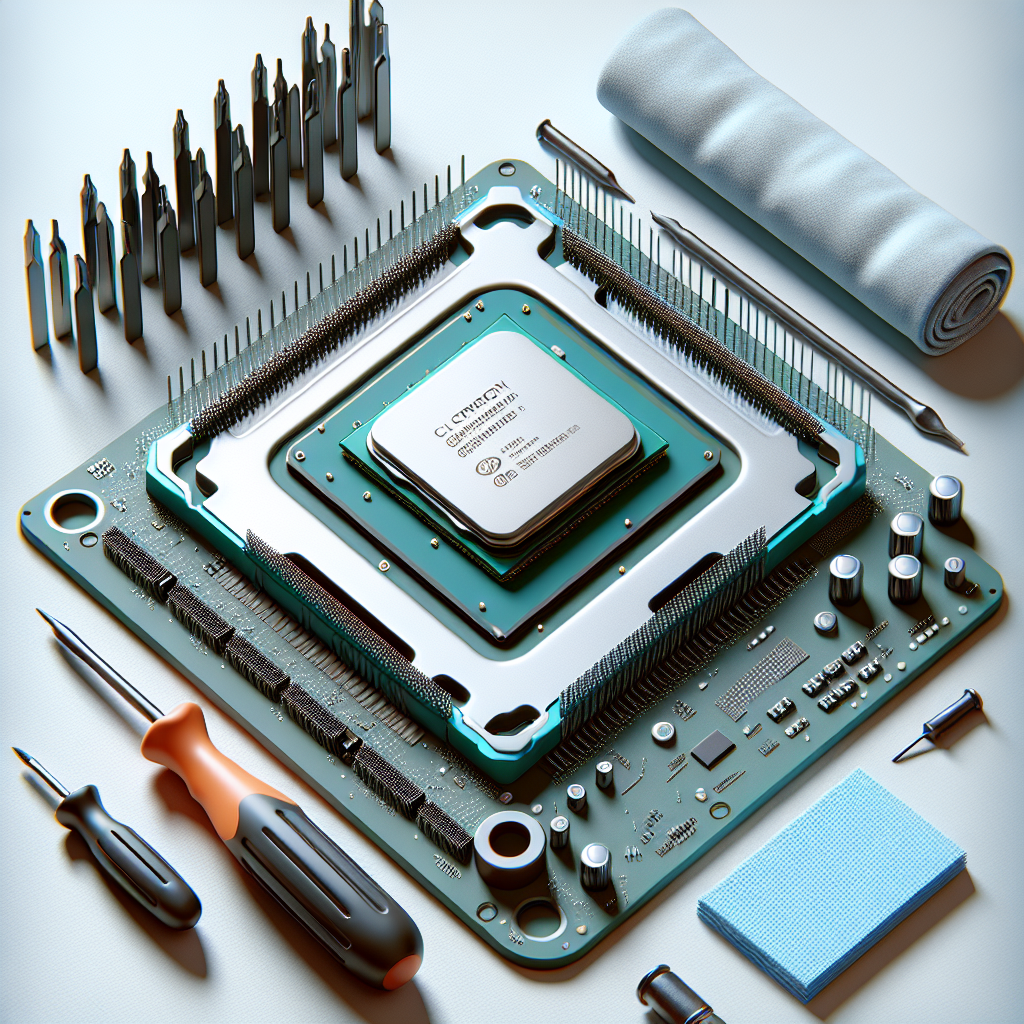
Removing a processor that is fused to a heatsink can be a daunting and delicate task. The bond between the CPU and the heatsink typically occurs due to the thermal paste applied between them, transforming into a glue-like substance over time. Attempting to separate the two without proper techniques can lead to damage to your processor or the motherboard. This guide will walk you through the steps required to safely and effectively remove a processor from a heatsink.
Why Processors Get Fused to Heatsinks
When the computer operates, the processor generates heat, making thermal paste critical in maintaining effective heat transfer to the heatsink. Over time, the thermal paste can dry out and harden, creating a strong bond between the CPU and the heatsink.
Tools and Materials Required
- Isopropyl Alcohol (90% or higher)
- Plastic Card or Spudger
- Thermal Paste
- Microfiber Cloth
- Hair Dryer (optional)
- Anti-static Wrist Strap (optional)
Step-by-Step Guide to Removing a Processor Fused to a Heatsink
Step 1: Prepare Your Workspace
Ensure your workspace is clean, well-lit, and free of static electricity. Using an anti-static wrist strap will prevent any risk of damaging electronic components due to static discharge.
Step 2: Detach Heatsink from Motherboard
Start by carefully disconnecting the heatsink and fan assembly from the motherboard. This usually involves unscrewing or unclipping the heatsink from its mounting brackets.
Step 3: Soften the Thermal Paste
To soften the hardened thermal paste, you can use a hair dryer or heat gun. Hold the heatsink with the processor facing upwards and blow hot air on it for about one to two minutes. This will soften the thermal paste, making it easier to separate the CPU from the heatsink.
Step 4: Gently Twist the Heatsink
Once the thermal paste has softened, gently twist the heatsink back and forth to break the bond. Do not pull it directly upward as this might damage the CPU or bend its pins.
Step 5: Use a Plastic Card or Spudger
If the CPU still does not come free, use a plastic card or spudger to carefully pry the edges of the CPU. Avoid using metal tools as they might scratch or damage the CPU surface.
Table of Required Tools and Their Uses
| Tool/Material | Use |
|---|---|
| Isopropyl Alcohol | Cleaning dried thermal paste |
| Plastic Card/Spudger | Prying the CPU gently |
| Thermal Paste | Reapplying thermal interface after cleaning |
| Microfiber Cloth | Wiping clean both surfaces |
| Hair Dryer | Softening the thermal paste |
| Anti-static Wrist Strap | Preventing static discharge |
Step 6: Clean Residual Thermal Paste
Once the CPU is separated, clean the residual thermal paste from both surfaces using a microfiber cloth soaked in isopropyl alcohol. Ensure both surfaces are thoroughly cleaned before reapplying new thermal paste.
Step 7: Reapply Thermal Paste
After cleaning, apply a small amount of new thermal paste onto the CPU. Spread it evenly using a plastic card or spatula. This ensures optimal heat transfer when you reassemble the heatsink and CPU.
Step 8: Reinstall the CPU and Heatsink
Place the CPU back into its socket on the motherboard, ensuring it is properly aligned. Reattach the heatsink and fan assembly, securing it as per the manufacturer’s instructions.
Conclusion
Removing a processor fused to a heatsink requires patience and careful handling to avoid damaging sensitive components. Following the outlined steps will ensure a smooth process, helping you to safely separate and clean your CPU and heatsink. Always remember to reapply fresh thermal paste before reassembly, ensuring your CPU remains adequately cooled for optimal performance.

